Moving into a new place, buying a new dryer or noticing a musty laundry room can all raise the same question: when was the vent last cleaned? People in Abbotsford who end up typing “dryer vent replacement” often have no idea, and that is completely normal. With no record to go on, it is reasonable to treat the vent as due. A look at the outside hood helps: a flap that stays shut while the dryer runs, or fluff caught in the louvers, is a good reason to ask about dryer vent replacement sooner rather than later.

Rigid or semi-rigid metal duct is generally the safer choice for a dryer vent, while thin foil and white plastic hoses are widely discouraged. Smooth metal walls let lint slide through instead of catching on ridges, and they hold their shape so the path stays open. Foil accordion hose sags, kinks and flattens easily behind the dryer, creating pockets where lint collects. Plastic hose can melt or burn and is not meant for dryer exhaust. If you can see white plastic or flimsy foil behind your dryer, ask about a replacement the next time the vent is serviced.
We recommend replacement when cleaning would only be a temporary patch. Typical examples: a foil connector split along its folds, a section inside the ceiling that has come apart and is blowing lint into the cavity, or galvanized pipe rusted through by repeated condensation. We also see vents assembled with screws poking into the airflow, which catch lint like a comb. When a run is in that condition, a new duct with smooth joints and a sound hood usually works out better over time than repeated cleanings that never quite restore the airflow.
A bird nest in a dryer vent should be removed before the dryer is used again, because twigs and grass block airflow and catch lint quickly. Signs include chirping or scratching near the outside hood, nesting material poking out of the opening and a flap that stays open. Avoid reaching into the vent yourself, especially if birds are still inside. A technician can clear the nest, clean the duct behind it and fit a hood designed to keep birds out while still letting lint pass. Nesting season in spring is when this happens most often.
For most replacements, the run through walls and ceilings is done in rigid metal duct and only the short connection behind the dryer is flexible, using semi-rigid metal rather than foil or plastic. Rigid duct keeps a smooth, round path that lint does not catch on, while a semi-rigid transition gives the dryer room to move. The joints are usually sealed with foil tape instead of screws that would reach into the airflow. A replacement may also include a new outside hood. Ask what route and materials are planned and how the old duct will be removed or capped.
A straightforward replacement, such as a new connector and a short run through an exterior wall, often fits into a few hours. Longer routes, ceiling or basement runs, roof exits and jobs that involve opening and closing drywall can take most of a day or be split across two visits. The time also depends on how easily the old duct comes out. When you request a quote for “dryer vent replacement”, ask for an estimated duration and whether you will be without the dryer overnight, so you can plan laundry around the work.

The cost of work on a dryer vent depends mostly on how hard the vent is to reach and how much it needs. The main factors are the length of the run, the number of bends, where it exits (a ground-level wall vent is simpler than a roof or a second-floor wall) and how long it has been since the last cleaning. Repairs add to the total, such as replacing a crushed hose, fixing a disconnected joint or installing a new hood. A quote that lists exactly what is included makes it easier to compare companies fairly.
In most cases, yes. Once the new duct is connected and sealed, the installer should run the dryer, check airflow at the exterior hood and confirm the connector has a gentle curve behind the machine. You can start laundry right away. A faint smell from new materials or tape for the first load or two is normal. Keep an eye on drying times over the next week; they should be noticeably shorter if the old vent was the problem. If anything seems off after your “dryer vent replacement” work, call the company back while the job is fresh.
To check the outside dryer vent flap, start the dryer on a heated cycle and walk outside to the vent. The flap or louvers should open and you should feel a steady stream of warm air. When the dryer stops, they should fall closed on their own. If the flap barely moves, sticks open or is coated with lint, wipe it clean with a dry cloth while the dryer is off. A flap that still will not move freely, or a cracked or missing cover, should be replaced. Only check vents you can reach from the ground; leave second-story and roof vents to a professional.
If we were hiring someone for our own homes, we would listen to how they talk about the vent. A company that knows the work asks about the route, the exit point and the dryer type before quoting. It explains how it will clean, not just that it will. It shows you the lint and the airflow difference afterward and tells you plainly when something needs fixing. Tidy work matters too, because lint gets everywhere if equipment is handled carelessly. Clear communication on the phone is usually a good preview of how the visit itself will go.

A few details help us plan the right visit:
Send us your details and we will reply with next steps for dryer vent replacement in Abbotsford.
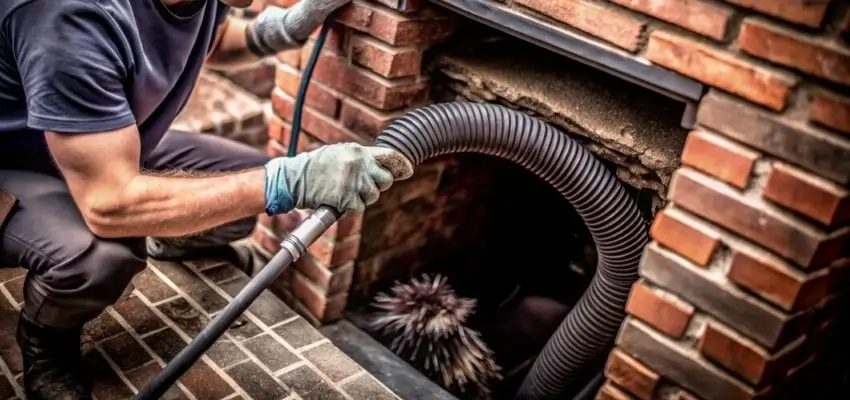
Flue last swept long ago? Chimney Cleaning in Abbotsford

Creosote cleared, flue inspected: Chimney Sweep for Abbotsford
From roof cap to firebox, Chimney Sweep Services in Abbotsford

Ready for the season with Fireplace Experts in Abbotsford
Control area vacuumed during Gas Fireplace Cleaning
Yearly Gas Fireplace Maintenance in Abbotsford, before the cold arrives